
A simple disk imaging workflow tool
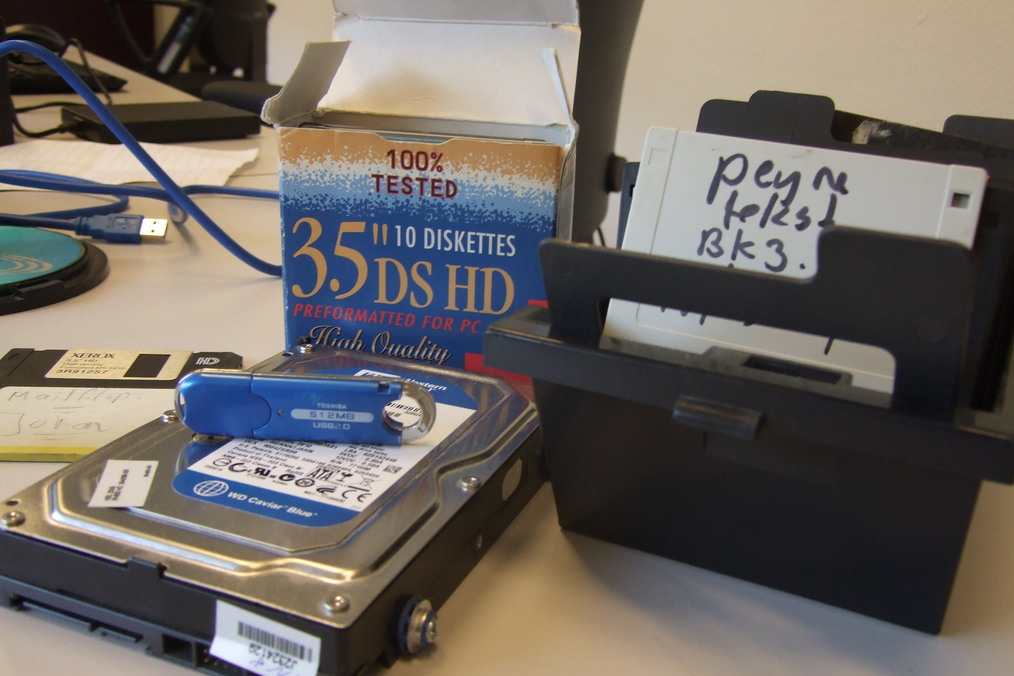
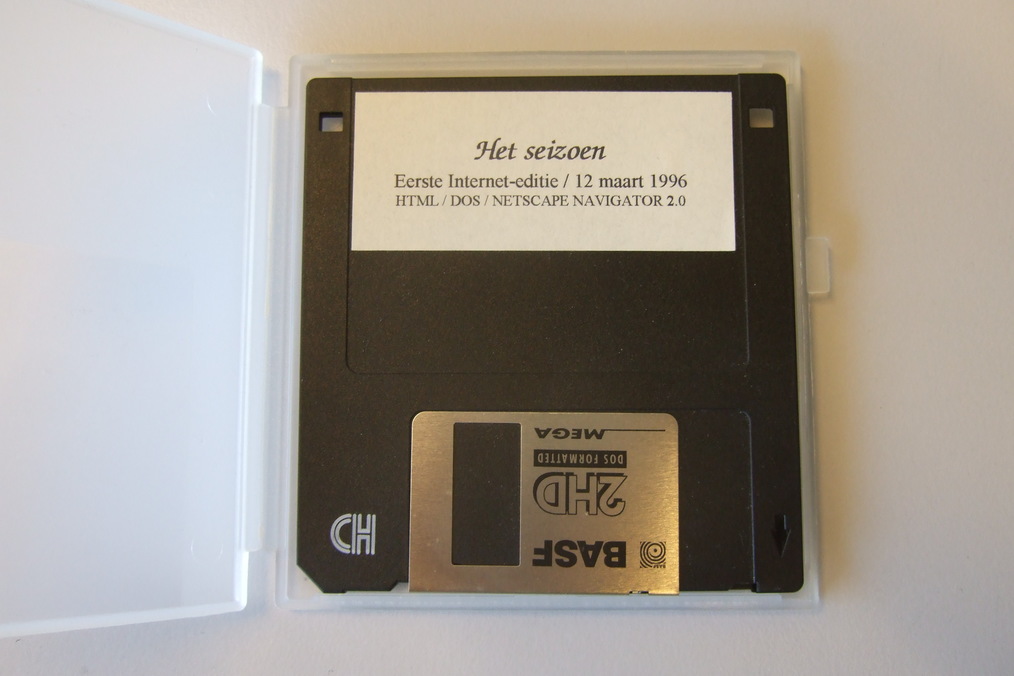
As I explained in the introduction of this earlier blog post, as part of our ongoing web archaeology project we are currently developing workflows for reading data from a variety of physical carrier formats. After the earlier work on data tapes and optical media, the next job was to image a small box with 3.5” floppy disks. Easy enough, and my first thought was to fire up Guymager and be done with it. This turned out to be less straightforward than expected, which led to the development of yet another workflow tool: diskimgr. In the remainder of this post I will first show the issues I ran into with Guymager, and then demonstrate how these issues are remedied by diskimgr.
Guymager workflow
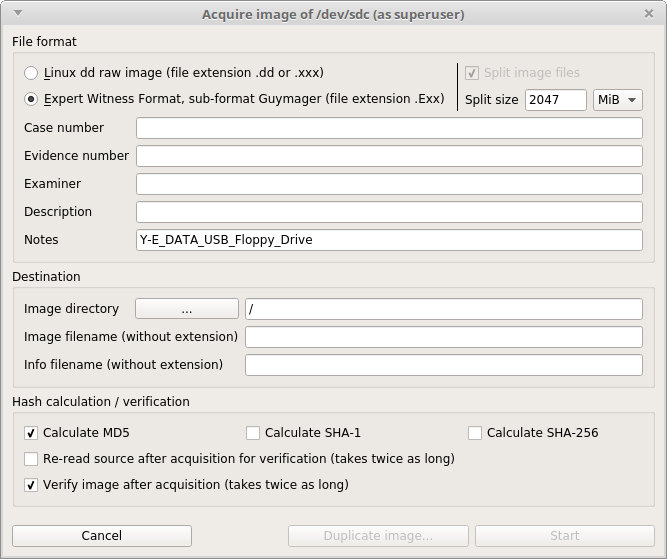
As I tried to image some floppies with Guymager, I quickly ran into several problems, all of which involved the handling of user-added descriptive metadata. Guymager does in fact accommodate for this, but the way it is implemented introduces some practical issues. To illustrate this, here’s Guymager’s default entry form:
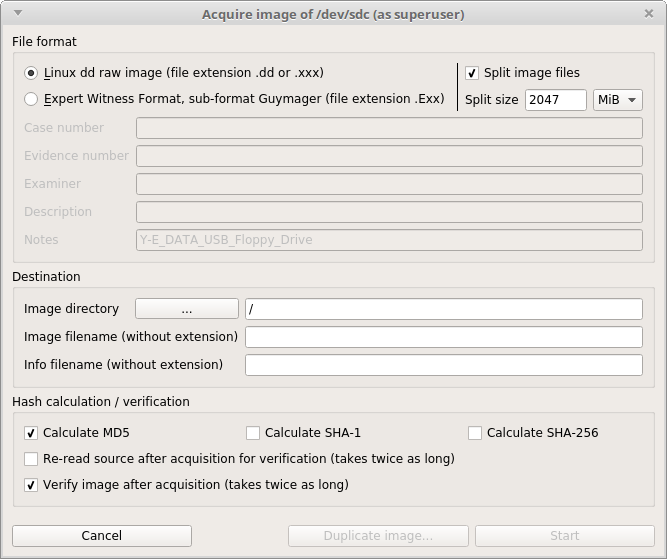
The form provides various fields that can be used to enter descriptive metadata, but they are only available if one chooses to write the disk image in Expert Witness Format. Changing the format to Linux dd raw image (which simply generates a raw copy of the imaged medium’s bytestream) disables these fields:
Expert Witness Format
One possible solution would be to image the floppies to Expert Witness Format (EWF), in which case the entered descriptor fields are embedded in the disk image. However, I really don’t want to do this. First, saving to EWF would make further processing of the disk image (e.g. mounting the file system, or attaching it to a virtual machine or emulator) more difficult, since it requires that the reading application (emulator, disk mount tool) supports not only the floppy’s native file system (typically FAT for floppies that were written with MS-DOS or Windows), but also the added EWF layer. Also, while EWF’s support for data compression can be tremendously useful for imaging large hard disks, it is largely unnecessary for 1.5 MB floppies.
Guymager metadata entry
Last but not least, Guymager’s interface introduces another practical hurdle. When Guymager is launched, it shows a list of available devices:
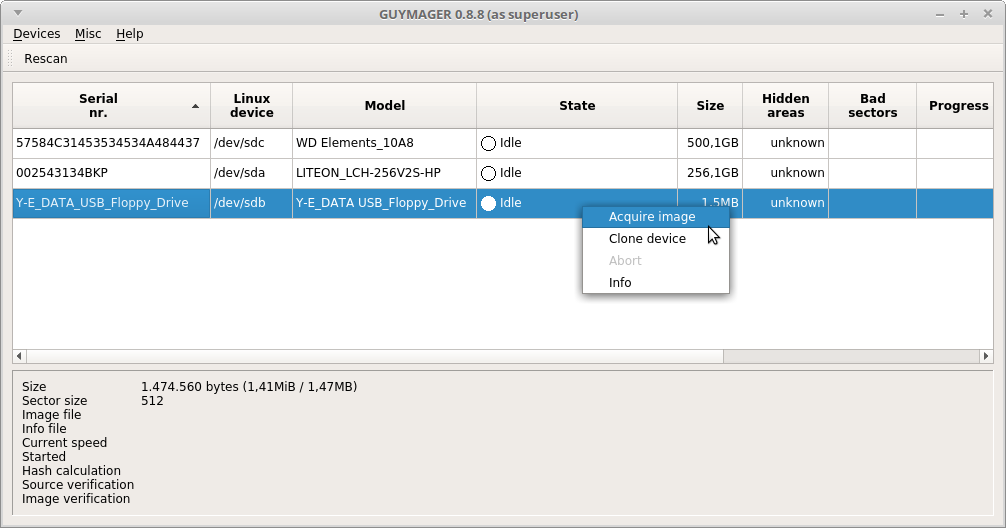
The user then selects the device they want to image, after which the aforementioned data entry form pops up. However, for floppies the descriptive metadata that one would enter here is typically found on the label on the floppy itself, which by this time is inaccessible because the floppy is inside the floppy drive!
Of course there are workarounds to this (e.g. you could copy the information from the labels beforehand, put it in a text file and then paste it into Guymager’s entry fields), but overall this would be pretty clumsy.
Linux dd raw
An alternative solution would be to select the Linux dd raw option in Guymager, and then add the metadata by hand afterwards. Again (as I also argued in my previous blog post), this is pretty cumbersome, and prone to all sorts of errors.
Diskimgr
As the omimgr already solves the above problems for optical media, I simply used the code of omimgr as a starting point, and adapted it into diskimgr. Diskimgr is a general-purpose disk imaging tool that can be used for a wide variety of digital media, such a floppy disks, USB Flash drives and hard disks. It provides a simple graphical user interface for the entry of descriptive metadata, and all entered and generated metadata are written to a JSON file, along with the image file.
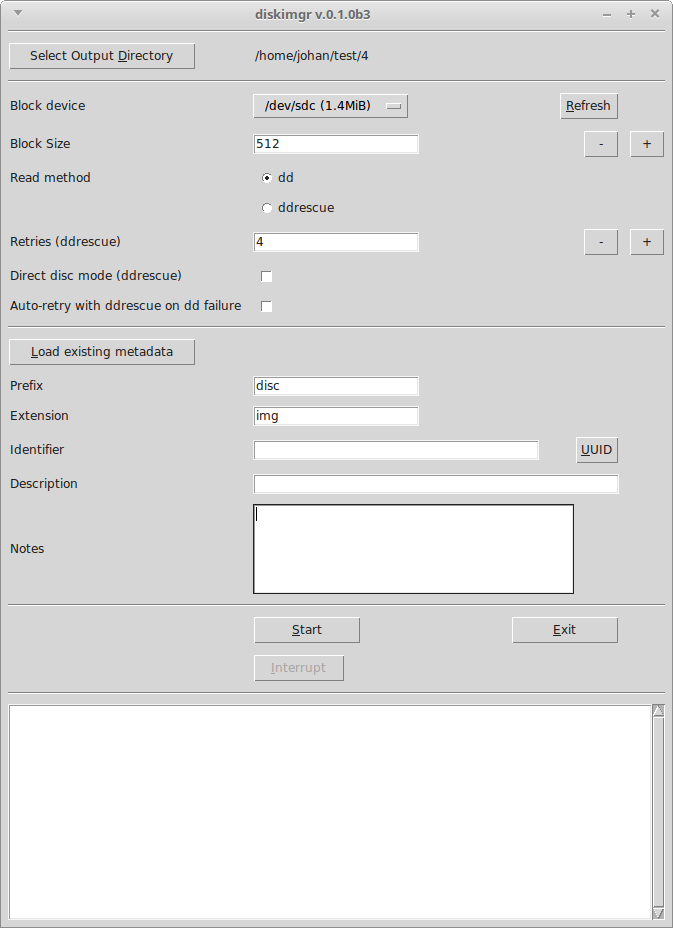
Internally diskimgr wraps around Unix dd and ddrescue. The general workflow of diskimgr is similar to the one employed by omimgr: first it tries to read a user-defined medium with dd. If dd fails, it prompts the user to give it another try with ddrescue. If ddrescue was unable to recover all the data from the medium, additional ddrescue passes may be run to further improve the result. As an example, the screenshot below was taken after a diskimgr session with a damaged 3.5” floppy disk:

After an initial attempt to image this floppy with dd failed with errors, a first pass with ddrescue resulted in a 106 kB block of unreadable data. A second ddrescue pass with the Direct disc mode option switched on reduced the size of the unreadable block to a mere 512 bytes (one sector).
Metadata
Descriptive metadata, a SHA-512 checksum of the disk image, and a host of event metadata are written to a JSON file in a format that is largely identical to the one used by omimgr. Below is an example:
{
    "acquisitionEnd": "2019-04-09T13:10:40.503984+02:00",
    "acquisitionStart": "2019-04-09T13:09:59.835833+02:00",
    "autoRetry": false,
    "blockDevice": "/dev/sdc",
    "checksumType": "SHA-512",
    "checksums": {
        "ks.img": "79a17d3fa536b8fa750257b01d05124dadb888f1171e9ca5cc3398a2c16de81b1687b52c70135b966409a723ef5f3960536a6e994847c5ebe7d5eaffefa62dc7"
    },
    "description": "KS metingen origineel",
    "diskimgrVersion": "0.1.0b3",
    "extension": "img",
    "identifier": "cc630cda-5ab7-11e9-bc82-dc4a3e5f53bf",
    "interruptedFlag": false,
    "maxRetries": "4",
    "notes": "",
    "prefix": "ks",
    "readCommandLine": "dd if=/dev/sdc of=/home/johan/test/6/ks.img bs=512 conv=notrunc",
    "readMethod": "dd",
    "readMethodVersion": "dd (coreutils) 8.25",
    "rescueDirectDiscMode": false,
    "successFlag": true
}
Main uses
While diskimgr can be used for virtually any kind of block device, including entire hard disks, it is not intended to be a full replacement for tools such as Guymager. For instance, for imaging a 500 GB hard disk I’d probably still prefer Guymager. However, for situations where one wants to image a large number of small-size media (such as floppies), Guymager is less than ideal, and diskimgr might be worth a try. It also provides a user-friendly alternative to using dd and ddrescue from the command-line.
Final remarks
Just like tapeimgr and omimgr, diskimgr only works on Linux-based systems. Again, this is an initial release which has had limited testing, so use at your own risk. If you run into any issues, feel free to report them here.
Link to diskimgr
Diskimgr and its documentation can be found here:
-
diskimgr
-
web-archaeology
- Restoring Liesbet's Virtual Home, a digital treasure from the early Dutch web
- Recovering '90s Data Tapes - Experiences From the KB Web Archaeology project (iPres 2019 paper)
- A simple disk imaging workflow tool
- Roll the tape - recovering '90s data tapes in BitCurator
- Crawling offline web content: the NL-menu case
- Resurrecting the first Dutch web index: NL-menu revisited

Comments